
Sourdough — A Series #3 We’ve Got This Beautifully Risen Dough. Now What?
by Cary and Patty ~ My Simply Sage
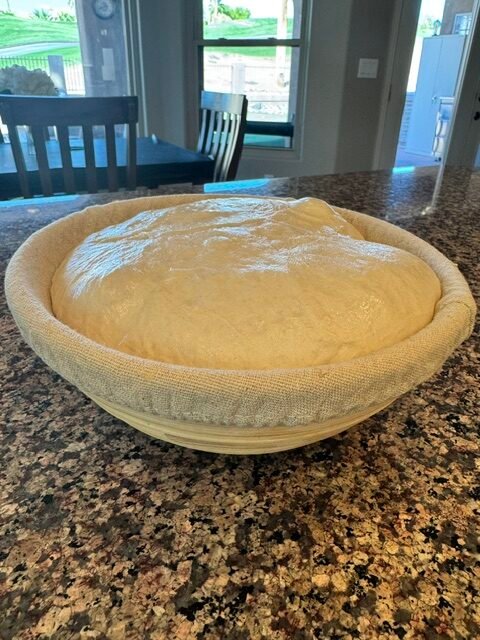
We’ve taken that wonderful starter, mixed it with some flour and water, added a little salt, and let it rise. Then we shaped it and put it in the refrigerator overnight. Now we’ve got a beautiful raw loaf of sourdough bread…Let’s bake it!
First, What Are We Going to Bake It In?
A loaf pan? A Dutch oven? A roasting pan? Maybe just an open baking sheet?
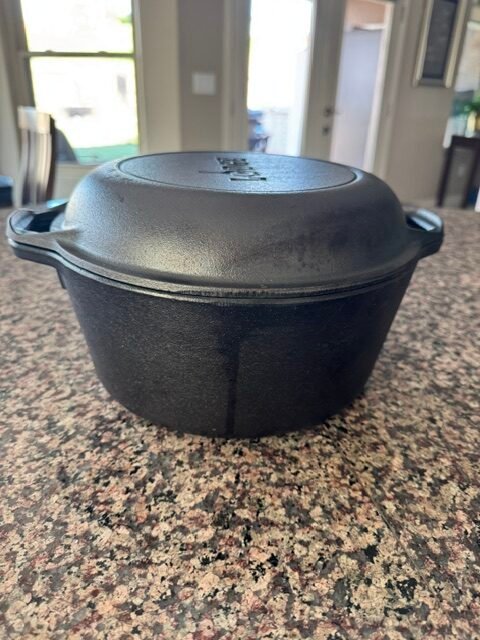
There are several ways to bake sourdough bread. I’ve tried different methods over the years, but I always seem to come back to my cast iron Dutch oven.
Why?
Because it works for me. Good oven spring, nice browning, and consistent results. I’ve made a lot of bread this way, and I think it’s pretty foolproof.
That doesn’t mean you have to use the dutch oven method. Find what works best for you and stick with it.
For this article, though, we’re going to use my Dutch oven.
Let’s Get That Oven Hot
I put my Dutch oven, lid and all, into the oven before I turn it on. That way the cast iron heats up gradually along with the oven.
Set the oven temperature to 475°F. If you have convection, that’s what I use. You may need to adjust the temperature or baking time a bit for your oven.
I normally use the middle oven rack. Just make sure there’s enough room for the Dutch oven and the bread inside it. Let everything get thoroughly hot. While that’s happening, we can get our dough ready.
Time to Score the Dough
Take your dough out of the refrigerator.
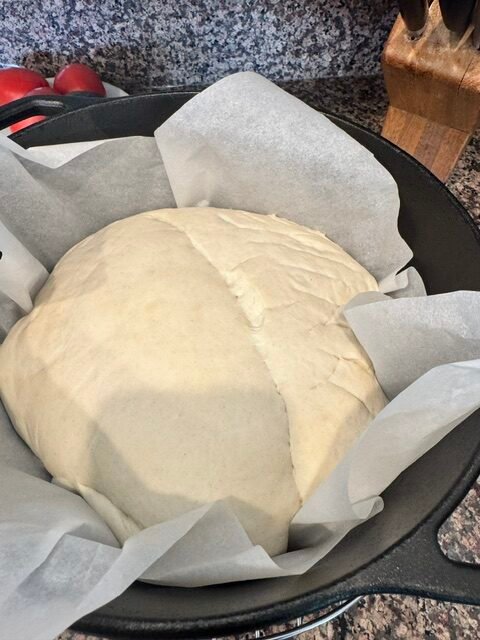
Now we need to get it out of the banneton. I usually put a piece of parchment paper over the banneton and turn the whole thing upside down. There’s our loaf!
The smooth side that was against the bottom of the banneton is now on top.
I leave enough parchment paper sticking out around the sides to make a couple of handles. That makes getting the dough/bread into and out of the hot Dutch oven much easier.
Next, we’re going to score the dough.
I use a sharp razor blade. In a holder of course. You can also use a bread lame, which is simply a tool made for scoring bread.
Now there are all sorts of fancy designs you can cut into the top of sourdough bread. Some folks turn this into an art form. And there are plenty of videos showing how to do it. Me? I usually make a good cut across the length of the loaf, about 3/8 to 1/2 inch deep.
Why do we score it? Because that loaf is going to expand when it hits the hot oven. We call that oven spring. The cut gives the expanding dough somewhere to go instead of just splitting wherever it feels like it. And now we’re ready.
Into the Dutch Oven
CAUTION! That Dutch oven is HOT!
Have some good protective oven gloves ready. I also keep a couple of cooling racks on the countertop so I’ve got a safe place to set the hot Dutch oven and lid.
Carefully remove the Dutch oven from the oven and take off the lid. Using the parchment paper as handles, lower your dough into the Dutch oven. Put the lid back on. Now put the whole thing back into the oven.
475°F for 20 minutes.
That’s my first baking session.
Now Let’s Brown That Bread
After 20 minutes, carefully remove the Dutch oven lid.
Turn the oven temperature down to 450°F.
Now let the bread continue baking, uncovered, for another 20–25 minutes, or until it’s nicely browned. I also like to check the internal temperature with a thermometer.
Somewhere around 200°F is what I’m looking for.
Depending on your oven, your baking container, and the size of your loaf, you might need to adjust the time a little. That’s okay. You’re baking bread, not launching a rocket. When it’s done, remove the Dutch oven from the oven, carefully take out your loaf, and put it on a cooling rack. And there it is.
You just made sourdough bread!
Now Comes the Hardest Part
Waiting to eat it!
I know. You’ve been working on this bread since yesterday. The kitchen smells wonderful, and that loaf is sitting there just begging for a little butter. But give it at least an hour, preferably longer, before cutting into it. The inside is still settling as the bread cools. Cut it too soon and you may end up with a gummy crumb. So leave it alone for a while. Go have a cup of coffee.
What About Other Baking Methods?
You certainly don’t have to use a Dutch oven. Some people bake directly on a baking stone or sheet, using a pan of water to create steam. Others use loaf pans or even two bread pans, one inverted over the other. The temperatures, timing, and handling may be a little different with these methods. Experiment. Find out what works best for you. I’ve tried other ways myself, but I keep coming back to my Dutch oven.
Simple, consistent, and good bread.

Was That Really So Difficult?
Think about what we’ve done over these three articles.
You made a starter.
You mixed some flour, water, starter and salt.
You gave the dough a few folds and let it ferment.
You shaped it and put it in the refrigerator.
And today, you baked it.
That’s sourdough bread.
Sure, you’ll get better with experience. You’ll learn how your starter behaves, how your dough should feel, and how your oven bakes. Maybe your first loaf won’t be the prettiest thing you’ve ever seen. So what?
It ain’t a baby!
And your chances of making something perfectly edible are a whole lot better than you might think. Remember something I’ve been trying to tell you since we started this little adventure:
You don’t need to become good at sourdough before you start making sourdough. You get good at sourdough by making sourdough.
And now that you know how to make it, maybe next time you’ll quit following all the rules and have some fun with it. Different flours. Different methods. The possibilities are endless. Maybe a few things that don’t work out quite the way you planned but, that’s how you learn.
And besides…
There will always be another loaf.