
Sourdough — A Series
Let’s Start With Starter
by Cary and Patty ~ My Simply Sage
I can’t remember exactly when I started making sourdough, but it was many years ago. I looked into it, experimented with it, made some mistakes and eventually figured a few things out. This is kinda the story of it all. Take a walk with me through the past, maybe learn a little…and also bake some great-tasting bread—easily.
One day I got to thinking about some store-bought sourdough bread I had tasted and thought:
Why can’t I make this?
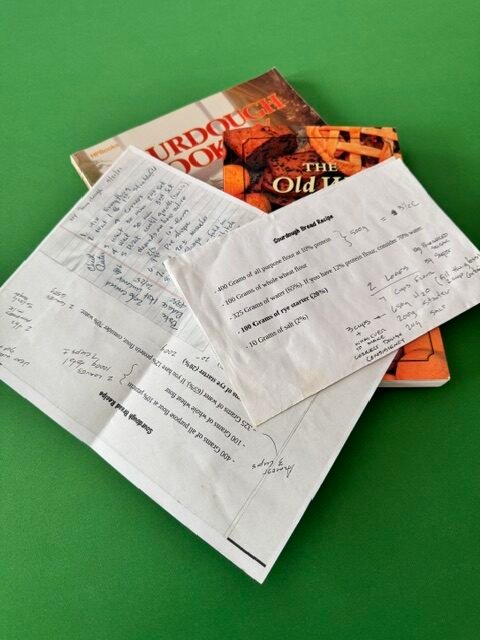
And the adventure began—books, recipes, percentages, measurements and plenty of notes.
Eventually I learned something:
Sourdough doesn’t have to be this complicated!
At the time, a loaf of good sourdough was a little expensive. Good sourdough still is today. Eight or ten bucks a loaf at the farmers market isn’t unusual.
So I started the journey and found out that #1, you need starter.
Huhhh…starter?
So off I went on the trail of the very best starter a person could have.
Funny thing. I eventually found out that all starters are kinda the same—but different.
Over time, everyone’s starter becomes their starter, depending on the flour, water, temperature, feeding routine and everything else that happens to it.
None of that needs to be complicated. Just understand that eventually, it becomes your starter.
So How Do You Make a Starter?
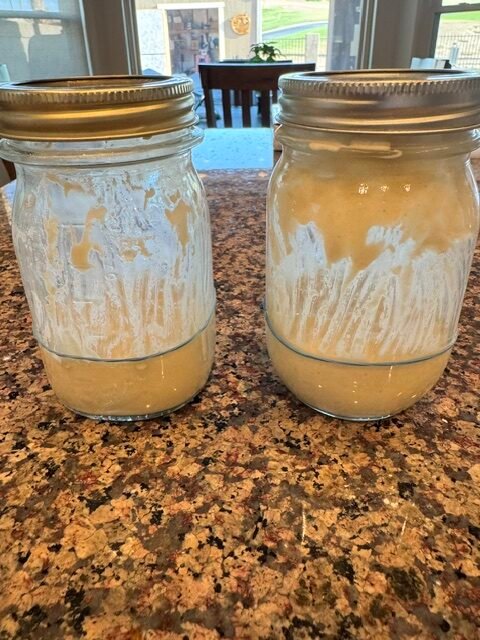
I tried a few different methods but I always use a pint canning jar with the lid and ring. This keeps it covered but still allows venting if needed..
I tried this and I tried that. Potatoes, apples, honey—and I even tried getting one going with somebody else’s starter. Most of these experiments failed.
Or at least I thought they did.
It turns out a really good starter takes some time to develop. And here’s something I wish I had understood when I started.
A brand-new starter may suddenly bubble and rise like crazy after only a couple of days.
Wow! Look at that! I made starter!
Maybe not.
That early activity is sometimes called a false rise. Your new starter is developing its little community of microorganisms, and things can get pretty active before that community settles down. Then suddenly it may seem like your starter has died.
Don’t throw it away.
Nothing necessarily went wrong. Keep feeding it (I do it daily in these early stages) and give it some time.
What you’re looking for isn’t one spectacular performance. You’re looking for a starter that becomes consistently and predictably active after you feed it. We’ll talk about this a little later.
That can take a week or more. Keep it around normal room temperature—roughly 70°F is fine—and use clean utensils, clean hands and a clean container. Actually, these are all just good culinary practice anyway.
Flour + Water + Time
Well, guess what I eventually discovered?
Good fresh flour, clean water and a little time are really all you need.
I might mention that my best sourdough starter ever—and, oh yes, I’ve had several—was made with clean, fresh well water from my place years ago.
Today, I just use good bottled water for my starter. For bread making, I use filtered tap water.
If your city water smells strongly of chlorine, filtered or bottled water is an easy solution. Letting tap water sit uncovered overnight can help ordinary chlorine dissipate, although some water systems use chloramine, which doesn’t disappear nearly as easily.
Now for the complicated starter recipe. Are you ready?
Flour. Water.
That’s pretty much it.
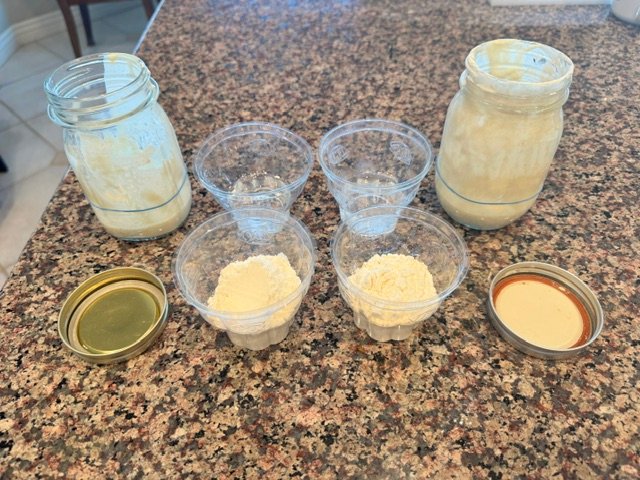
The good old tried-and-true method is equal parts flour and water by weight. Start with 30g flour and 30g water. Put it into your jar, stir and let the process begin.
Yes, you can add other things—sugar, honey, fruit, whatever—but you don’t need them.
Mix the flour and water in your clean container, cover it loosely and let it sit. Each day, discard some of the starter, keeping about 30g of starter. Then feed it 30g fresh flour and 30g water. Stir and give it time. Mother Nature will eventually take over.
What will happen? Several billion microorganisms doing whatever the hell they want. That’s what. Our job now is mostly to give them a nice place to live and try not to screw things up.
It WILL eventually become your starter.
Repeat this process for a week or more.
Okay, So How Do I Know When It’s Ready? A Real Starter.
Here’s where I don’t want you staring at the clock.
Take some of your starter. You’ve been nurturing it for a week or more. Feed it equal parts starter, flour and water by weight. Put it into a jar, mix it and mark where it started. A rubber band on the outside of the jar is your indicator.
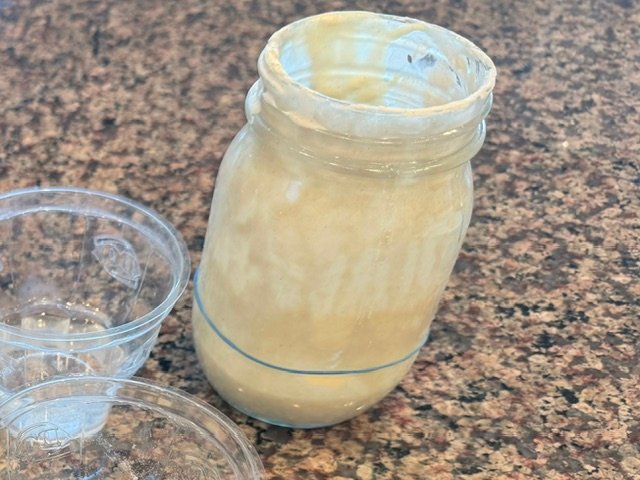
Then watch it. A good active starter should reliably rise after feeding—most times doubling in size.
Sometimes that happens in a few hours. Sometimes it takes longer. Temperature matters. Flour matters. How much you fed it matters. And your particular starter matters. Don’t worry about whether it took exactly two hours, four hours or five hours and seventeen minutes. What matters is that after feeding it, your starter reliably comes alive, bubbles and rises. If it repeats the same way for a couple of days, you’ve got yourself a working sourdough starter.
Great. Now I Own a Jar of Bugs. What Do I Do With It?
If you’re going to bake frequently, you can keep your starter at room temperature and feed it regularly.
But most of us aren’t baking bread every day.
That’s what the refrigerator is for.
Once your starter is healthy and established, put it in the refrigerator. The colder temperature slows everything down considerably.
When you’re ready to bake again, take it out, give it some fresh flour and water and let it wake back up.
If it’s been sitting for quite a while, it may need another feeding before it’s really lively again.
Once again…
Watch the starter rather than the clock.
If it’s bubbling, rising and behaving like the starter you’ve gotten to know, it’s telling you something.
I’m awake. Let’s make bread.
And don’t panic if a refrigerated starter develops some liquid on top or smells stronger than usual. Starters can be remarkably resilient. Feed it and see what happens.
There are times when a starter really should be thrown away—especially if you see obvious fuzzy mold or unusual pink or orange discoloration. When in doubt about contamination, don’t try to rescue it.
Flour and water are cheap.
Start another one.
And That’s Starter
That’s really all we’re trying to accomplish in Part 1.
Flour + water + time.
Feed it. Watch it. Learn what it looks like when it’s active. You don’t need an expensive starter somebody claims has been alive since the California Gold Rush. You don’t need apples. You don’t need potatoes. You don’t need honey. And you certainly don’t need to understand microbiology.
You only need flour, clean water and a little patience.
The first few times, you’ll probably wonder whether you’re doing everything correctly. That’s normal. After you’ve done it for a while, you’ll open the refrigerator, look at your starter and know what it needs. And that’s how we learn most things.
By doing them.
That’s really what this sourdough series is going to be about.
Not becoming a professional baker. Not following 47 rules. Just learning enough to make some really good bread—and having a little fun doing it.
Next Time — Let’s Make Some Dough
Now you have your very own starter.
I might mention here that some folks actually name their starters… One that comes to mind is from a friend. “Doughlene.” I don’t name mine but what the heck. Name it if you like.
Next time we’ll add some flour, water and salt and turn that strange-looking jar of microorganisms into bread dough.
Just a little preview:
Put the ingredients together. Give the flour time to absorb the water. Give the dough a few folds while you’re wandering through the kitchen. Let it ferment until it looks and feels ready.
It really is just that easy.
*One little note about “discard”: You’ll see that word everywhere in sourdough instructions. It simply means the portion of starter you remove before feeding what’s left. You don’t necessarily have to throw it away. We’ll get into some of the things you can do with it later in this series.